Orchids are beautiful and delicate blooms that add sophistication to your home. These flowers are relatively easy to care for and can be an excellent way to hone your green thumb. Orchid plants will blossom season after season, so you don’t want to toss them out when the blooms are gone. Instead, you want to prune and nourish them so they can come back again and again.
Taking care of orchids can be easy with the right food and potting media. When properly caring for your orchid, you can watch it thrive year after year, dousing your space in elegance. When it comes to this precious plant, you don’t want to provide too much or too few essential nutrients, including water, temperature, lighting, and food. With the right balance, you can grow your plant for decades. Discover how to keep an orchid alive below.
Jump to:
- Best Soil for Orchids
- How to Water an Orchid
- Indirect Light & Sunlight
- Temperature & Humidity
- Feeding an Orchid
- How to Make Orchids Last Longer
- How to Prune an Orchid
- Types of Pots to Use
- How to Repot an Orchid
- Caring for a Sick Orchid
Diverse Orchid Needs
There are thousands of different orchid types. With more than 25,000 different plants, orchids have many different needs to thrive. Many orchids are tropical, growing on trees and similar surfaces. Some flourish on rocks and the ground, while others can thrive in your home. If you’re growing orchids at home, you likely have a hybrid plant from a florist.
These plants have a desirable color, size, and fragrance. They’re relatively easy to take care of, despite the varying needs of each type. Orchids are rewarding to grow, and household orchids can liven your house and brighten your rooms. Understanding your orchid can take time, but it’s a satisfying experience. When you learn to meet all of its needs, you can keep your delicate bloom alive and thriving for many years.

What Kind of Soil Does an Orchid Need?
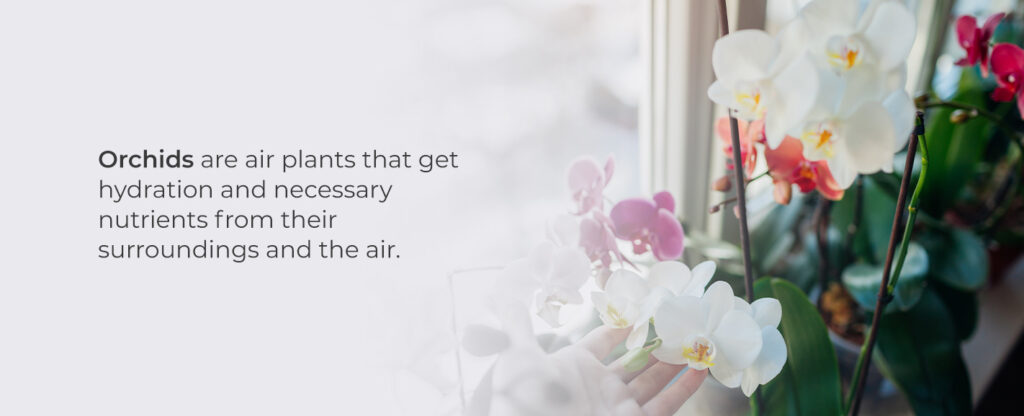
There is no best soil for orchid plants because they thrive in media like bark or moss. Orchids are air plants that get hydration and necessary nutrients from their surroundings and the air. Bark and moss can stabilize the plant roots and help them absorb the nutrients they need. It’s easy to find replacements when it’s time to switch the media.
Beginners can benefit from using some media over others. By utilizing a media with more visible signs of dehydration, it can be easier to tell if you are over or under-watering your orchid. However, some orchid varieties may do better in one type than another. Consider trying fir bark if you’re a beginner — it resists compaction and decay, letting your orchid get the drainage and air circulation it needs.
How to Water an Orchid
When learning how to care for an orchid, you need to understand how much water to supply it. Remember not to overwater it. This measure can be the most challenging aspect of taking care of your orchid at first, but with practice, you can perfect your routine and ensure your plant stays healthy. Typically, you can water your plant with lukewarm water once a week.
However, the amount of water your plant needs will vary with your orchid type, the mix it’s sitting in, the current season, and the environment. You will likely need to supply more water during the summer and less during the winter. You may need to experiment with multiple orchids, pot and mix types, and your watering schedule until you find the proper balance. This step takes time, but patience can help ensure your orchids stay alive and thrive for years.
Many orchid varieties prefer getting almost dry before getting another water flush. The best way to tell if your orchid is ready for more water is by feeling the media. Consider using sphagnum, a peat moss plant, because it will feel crunchy when you touch it if it’s dry. You can test other media by sticking a chopstick or pencil into the mix and pulling it out to examine if the interior is wet.

Using Indirect Light and Sunlight for Orchids
Although many plants thrive in direct sunlight, orchids do best in indirect light. Place your plant in an east-facing window so it can soak up the sun in the morning without getting direct light during midday. You could also consider setting the pot in a window that allows afternoon light through a sheer curtain. This low level of light is an ideal amount for your orchid.
You can tell when your plant is getting the light it needs by the color of the leaves. Bright, olive-green leaves indicate that your orchid is thriving, while dark leaves are a sign that it’s not getting enough light. Leaves with red coloring on top are a warning that you’re giving your orchid too much sunlight.
Some orchids enjoy dappled shade outside and may not bloom reliably if you keep them indoors. If you obtain one of these orchids, you can use fluorescent bulbs or high-intensity discharge (HID) lights to satisfy them. Keep in mind that outdoor orchids will receive natural light cues, while indoor lights tend to stay on much longer. If you bring these orchids inside, ensure they can get the proper amount of light they need without overdoing it. Timers can help you control these light sources.
What Is the Best Temperature for Orchids?
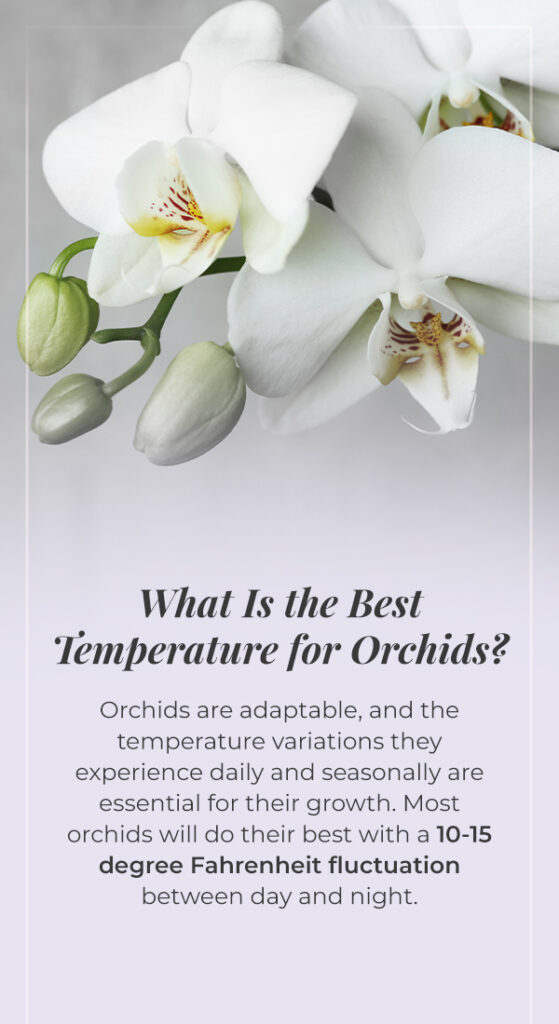
Orchids are adaptable, and the temperature variations they experience daily and seasonally are essential for their growth. Most orchids will do their best with a 10-15 degree Fahrenheit fluctuation between day and night. The cool air enables the plant to store energy rather than expend it. Temperatures that are too high can prevent your delicate flower from blooming. Ideally, you should place your orchid in an environment that will see temperatures between 60 and 80 degrees Fahrenheit throughout the day.
Avoid placing this bloom in places that can see extreme temperatures. Your attic and basement, for example, can see temperatures much higher or lower than the rest of your home, making it difficult for your plant to survive. Improper temperatures can result in buds dropping off rather than producing the bright blooms you want.
If you’re keeping your orchid indoors, you may need to increase your home’s humidity. You can mist your plants daily, fill a saucer with water and place it underneath your plants, or use a humidifier. Your plant will do its best when humidity is between 40% and 70%. Ensure you have gentle air movement supplying your plant to prevent it from rotting from moisture.
Feeding Your Orchid
Feeding your orchid is simple. Most orchids will thrive with fertilizer if you supply it once a week. You can refrain from providing fertilizer when they bloom but otherwise continue on a regular schedule. A teaspoon of fertilizer inside a gallon of water should be enough for your plant. You should skip this step once a month to ensure excess salt clears out and doesn’t impede the plant’s growth.
A 20-20-20 fertilizer includes all the trace elements your orchid needs. You can often use the same product on other container plants for your orchid. For the best growth results, using orchid fertilizer will be the best choice, but you can get by with other variations. Be sure to select a fertilizer with minimal to no urea.
How to Make an Orchid Last Longer
Many plants have different requirements, but you can make your flowers last longer by understanding their unique plant needs. Orchid care can be simple if you know the steps to take to prolong its life. You will need to repot and prune your plant to ensure it stays healthy and can continue blooming year after year. Take a look at these tips for taking care of your plant to ensure you know when and how to care for it.
How to Prune an Orchid
When your orchid enters a dormant phase, promote blooms in the next season by trimming it. You should prune your orchid in the cooler months to prepare it for the upcoming blooming season. Pruning stimulates blooming and enables your orchid to store the energy it needs. Continue caring for your plant even when it isn’t blooming.
Before pruning, assess your plant’s current condition. Healthy orchid spikes are firm and green, while yellow or brown spikes are unhealthy. Then, clean and sterilize your pruning tools, but wash all the soap off before taking them to your plant.
Assess where and how much to trim by the condition of the orchid spikes:
- Green and healthy: Trim one inch above the node on the lowest flower bloom.
- Brown and unhealthy: Trim back to the base of the orchid.
- Double-spike plants: Prune one spike from the plant base and trim the other one inch above the node of the lowest flower bloom.

What Kind of Pots to Use
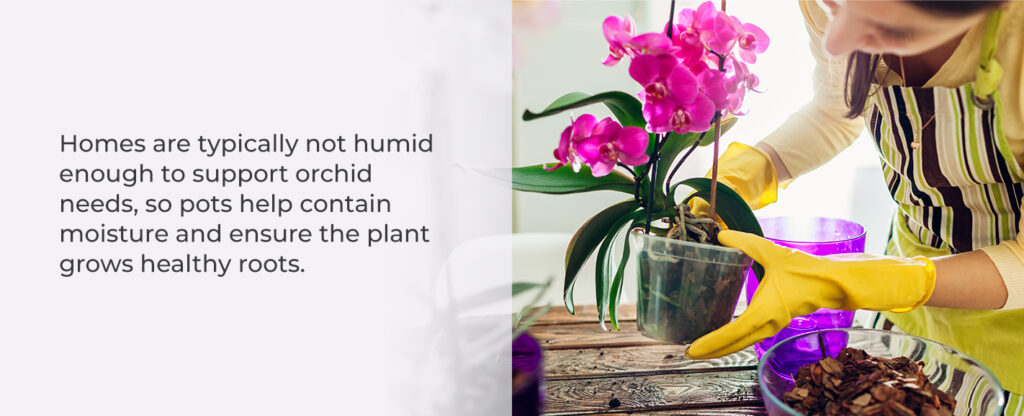
Orchids grow naturally in the wild, so potting the plant can be a significant adjustment. Homes are typically not humid enough to support orchid needs, so pots help contain moisture and ensure the plant grows healthy roots. However, orchids enjoy when their roots can spread and breathe, so finding a proper pot is essential for their growth. While you can tell other plants are healthy by looking at the leaves, for orchids, you must look at the roots.
Clear pots are typically the best choice for orchids, so you can inspect the roots without disrupting the media and ensure light reaches the plant. Select a pot that is small but large enough to fit all the roots. Selecting a large pot can inhibit growth, so avoid going the next size up. Your pot should enable you to identify when it’s time to supply water, so make sure you can see the color of the media and roots.
Plastic pots are easier to disinfect and reuse than clay ones, and ceramic pots are an excellent option for enhancing the plant’s natural beauty.
How to Repot an Orchid
Indoor orchid care tips involve knowing how to pot and repot your beautiful plant. You will likely need to repot your orchid about once a year. Although repotting may seem challenging, it’s quite simple. First, you must identify signs that it’s time to transfer your plant to a lovely new home. If your orchid’s roots are growing out of the container or if you notice the medium is breaking down, it’s likely time to repot your plant.
Know what type of orchid you have, as different species do best when you repot them at various times during the year. For example, some orchids thrive when you repot them as soon as they flower, while others are more flexible, and you can repot them at any time.
Take these steps to repot an orchid:
- Find a new container that is an inch or two larger than your current one.
- Place your potting mix in a sizable bowl and cover it with boiling water.
- Wait for the water to reach room temperature, then drain the potting mix.
- Soak the planter and tools in a safe disinfectant to remove bacteria and insects.
- Gently remove the plant from the pot and wash the roots.
- Remove any rotting or brown roots.
- Fill the new pot with potting mix and place the base of the plant at the top of the medium.
- Push the mix between the roots using a chopstick or wooden pencil.
- Mist your plant for about a week until you notice new roots appearing.
- Continue caring for your repotted plant.
Taking Care of a Sick Orchid
Although you’re trying your best to keep your plant thriving, sometimes orchids get sick. One of the first signs of an ill orchid is an increase in bacteria or insects. If you notice these signs, remove the affected plants immediately and keep them away while you treat the plant.
A common household pest deterrent is cinnamon. If you cut your plant, sprinkle a dash to prevent fungi and bacteria from building — but avoid getting any on the plant’s roots. You can also use a product like Physan if an infection sets in. Use a 50/50 rubbing alcohol and water solution if you need to remove many bugs.
Occasionally, you may experience problems under the plant. When this happens, you should repot the plant and investigate whether visitors are feeding on the roots. Tiny insects, called fungus gnats, resemble fruit flies and cause severe plant damage. You can find products to remove these critters if they overtake your precious plant.
If you suspect a virus, isolate the orchid immediately. Sadly, there is no way to cure an orchid with a virus, but you can test the plant to ensure you identify the problem. Plant viruses can quickly spread to the rest of your collection, so keep this plant away from the others until you know the final verdict.
Any problem you detect can be a signal to evaluate your plant’s conditions. Orchids that experience stress are more susceptible to disease and pests than healthy orchids. Check your air movement, how sterile the cutting tools are, whether another plant is sick, and if you’re providing enough light.
Order an Orchid From Ode à la Rose
Ode à la Rose sources the most impeccable orchids to offer you the best variety of beautiful blooms. Orchids are known for their exotic and elegant nature, and their timeless beauty makes them a sophisticated and delicate addition to your home.
At Ode à la Rose, you’ll find flowers from eco-friendly farms that make a lasting impression. Whether you’re looking for the perfect gift for a loved one or want to add grace to your home, our orchids are a perfect choice. You can easily take care of these delightful blooms and enjoy the sweet sights and smells they omit. Browse our orchids and find the perfect one for your home.


